How Mineral Wool Insulation Performs in Extreme Weather Conditions
Trying to keep a building comfortable when the weather flips from scorching hot to freezing cold is a real headache. Insulation that can’t handle extreme weather just makes things worse—drafts, moisture buildup, and temperature swings become daily battles. Mineral wool insulation steps up as a heavyweight contender in these conditions, standing firm where other materials often falter.
If frustration over wasted energy bills and chilly drafts sounds familiar, mineral wool might be the solution to finally get indoor comfort on lock. It’s designed to keep the elements out and comfort in, no matter what’s happening outside.
Why Mineral Wool Shines in Harsh Weather
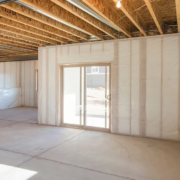
Mineral wool is made from natural or recycled materials spun into dense fibers, giving it some unique properties that handle extreme weather better than many alternatives.
Thermal Stability in Freezing and Scorching Heat
Professional Mineral wool insulation services holds up well to temperature swings. It maintains consistent insulation value whether it’s freezing cold or blisteringly hot outside, which means less heat escaping in winter and less heat seeping in during summer.
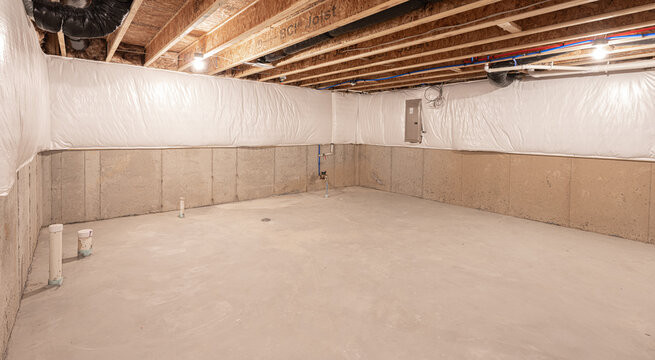
Moisture Resistance Helps Prevent Damage
Unlike fiberglass, mineral wool doesn’t absorb water easily. That means it won’t get soggy or lose insulating power if it comes into contact with moisture. It also dries out faster, reducing the risk of mold or rot.
Fun fact: Mineral wool’s water-repelling qualities come without chemical treatments—its natural composition resists moisture by design.
Fire Resistance That Protects Buildings and Occupants
Extreme weather sometimes brings fire risks, whether from wildfires or electrical storms. Mineral wool stands out as a non-combustible insulation material that doesn’t fuel flames.
Withstands High Temperatures
It can tolerate temperatures over 1,000 degrees Fahrenheit without melting or burning, which slows fire spread and adds valuable time for evacuation and firefighting.
Adds Passive Fire Protection
Mineral wool’s fire resistance can improve building safety ratings and may reduce insurance costs due to its ability to contain or delay fire damage.
Fun fact: Firefighters sometimes use mineral wool to create temporary fire barriers during wildfires because it blocks flames and heat effectively.
Sound Control in Extreme Weather Zones
Severe weather often means loud winds, hail, or storms that rattle windows and walls. Mineral wool doubles as a sound absorber, reducing noise inside buildings when nature turns up the volume.
Dense Fiber Structure Absorbs Sound Waves
Its tightly packed fibers trap sound vibrations better than many other insulation types, making interiors quieter and more comfortable during storms or heavy winds.
Keeps Indoor Spaces More Peaceful
This benefit isn’t just for comfort—it also protects sensitive equipment and workspaces from excessive noise disruptions.
Comparing Mineral Wool to Other Insulation Materials
Here’s how mineral wool stacks up against common alternatives when facing extreme weather:
| Insulation Type | Moisture Resistance | Fire Resistance | Thermal Stability | Soundproofing | Lifespan |
|---|---|---|---|---|---|
| Mineral Wool | High | Excellent | Excellent | High | 50+ years |
| Fiberglass | Low | Moderate | Moderate | Moderate | 20-30 years |
| Spray Foam | High | Good | High | Moderate | 30+ years |
| Cellulose | Low | Low | Moderate | Moderate | 15-25 years |
Mineral wool outperforms many insulation types in moisture and fire resistance, making it especially suitable for buildings in harsh climates.
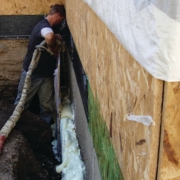
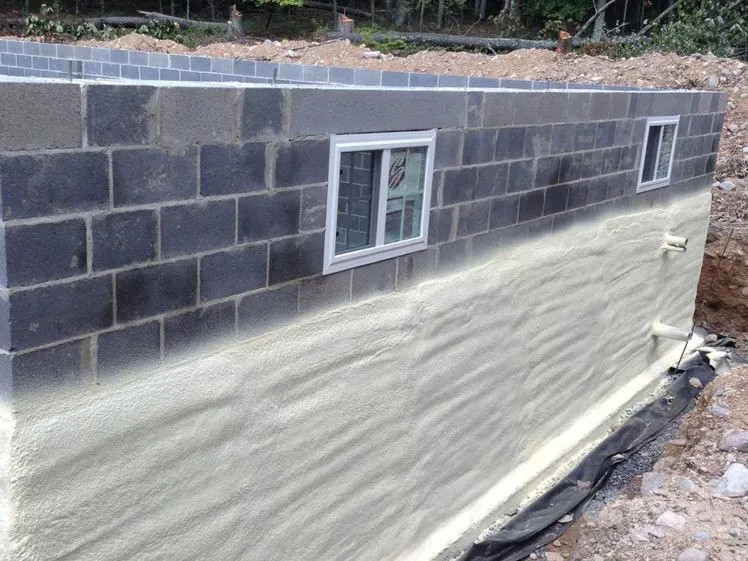
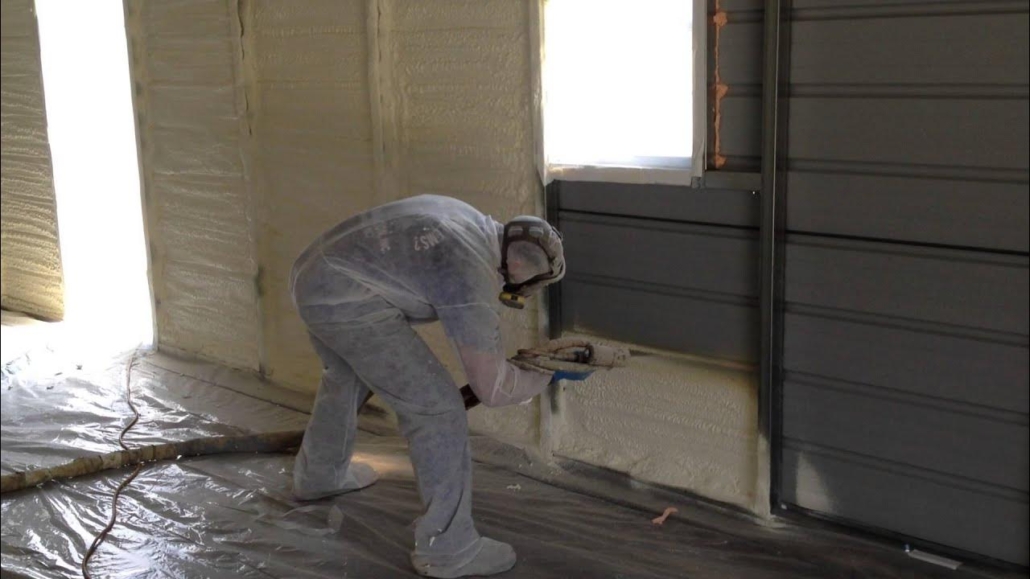
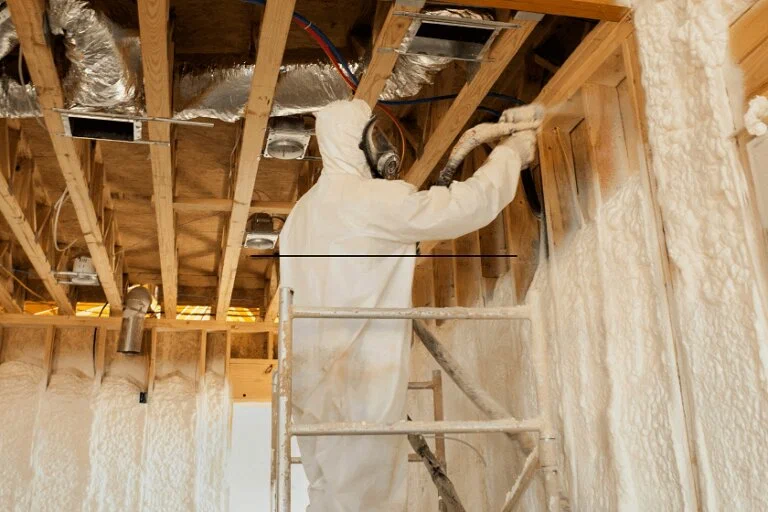
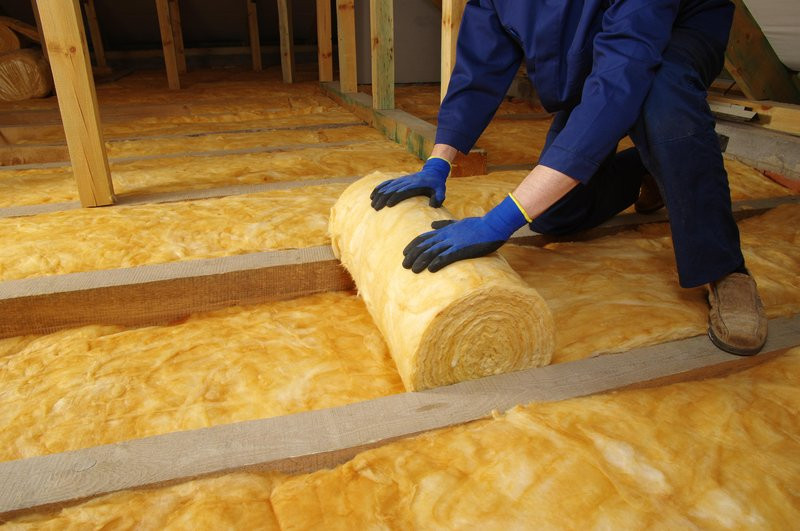
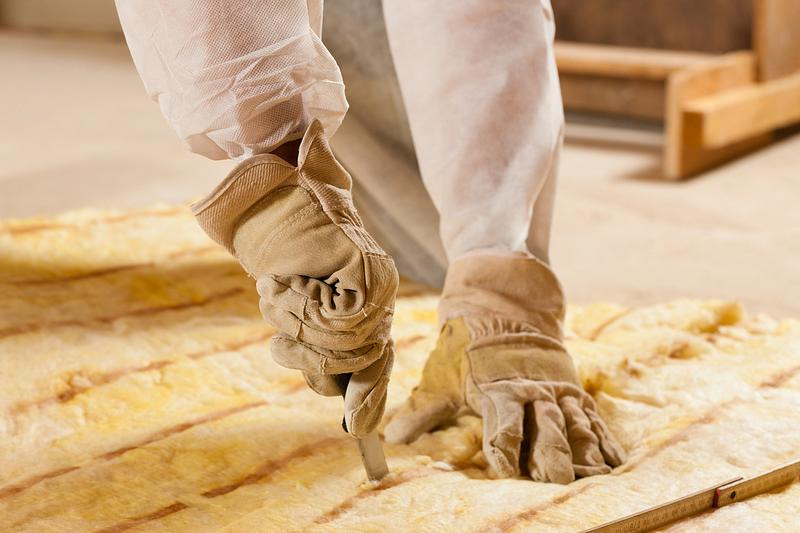
Installation and Maintenance Tips for Extreme Conditions
Mineral wool performs best when installed correctly and inspected periodically for any damage from water leaks or settling.
Proper Vapor Barrier Installation
To maximize moisture resistance, pairing mineral wool with an effective vapor barrier is key. This stops humid indoor air from condensing inside walls and causing damage.
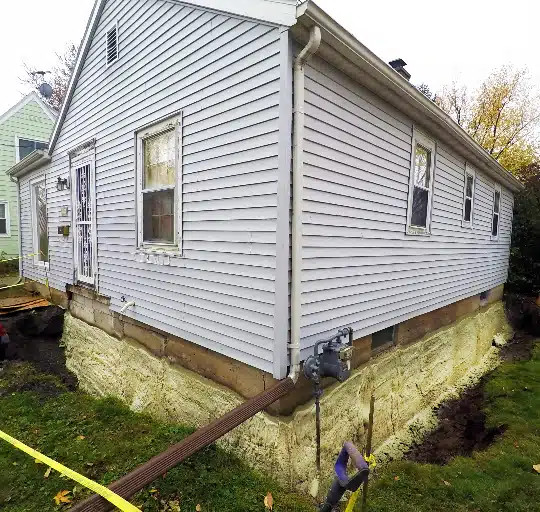
Regular Inspections Prevent Long-Term Issues
Checking insulation after heavy storms or seasonal changes can catch problems early, extending the lifespan and performance of mineral wool insulation.
Common Question: Can Mineral Wool Insulation Handle Both Hot and Cold Extremes?
Yes. Its dense fiber composition maintains insulating performance in freezing winters and hot summers alike. It doesn’t compress or lose shape under temperature stress, making it reliable for year-round comfort.
Conclusion
Mineral wool insulation proves itself as a tough, reliable option when buildings face extreme weather challenges. Its superior thermal stability, moisture resistance, and fire protection keep structures safe and comfortable no matter what the forecast says.
By resisting water damage, slowing fire spread, and controlling sound, mineral wool reduces risks that other insulation types can’t handle as well. For anyone tired of battling temperature swings and worrying about safety, mineral wool offers lasting peace of mind and performance. And when comparing options, consulting an expert spray foam insulation contractor can help you determine whether mineral wool or spray foam is the right fit for your property.
FAQs
Does mineral wool insulation degrade in wet conditions?
No, mineral wool resists water absorption and dries quickly, which helps maintain its insulating properties even after exposure to moisture.
Is mineral wool safe around fire hazards?
Yes, it’s non-combustible and can withstand extremely high temperatures, providing effective fire resistance.
How does mineral wool compare to fiberglass in cold climates?
Mineral wool maintains better thermal stability and moisture resistance, making it more effective in cold, damp environments.
Can mineral wool insulation reduce noise from storms?
Absolutely, its dense fibers absorb sound waves, cutting down indoor noise from wind, hail, and rain.
How long does mineral wool insulation last in extreme weather?
With proper installation and maintenance, mineral wool can last 50 years or more without losing performance.
Reviewer: Maria Lopez reviewed the article and brought 12 years of insulation industry experience to improve the guidance. Practical tips were added, and the content was made clearer and more useful for professionals working with insulation in challenging environments.