Printing on Mylar Bags: A Step-by-Step How-To for Professional Packaging Results
Printing on Mylar bags involves preparing print-ready artwork, selecting the appropriate film structure, and choosing a printing method such as digital, flexographic, or gravure. The design is aligned to a dieline so graphics fit correctly around folds, seals, and zippers before printing on the outer film. After printing, coatings and lamination protect the artwork and form the final pouch. This step-by-step process ensures durable, high-quality packaging that maintains strong shelf appeal.
Mylar bags (also known as polyester, or mylar) are not just an ink on plastic process. The actual production of the bags is where it can be a precise workflow where the production of the packaging will be done with an eye towards how the printed material will look after going through the supply chain and being shipped to the end user. If the printing process is done in a step-by-step process, it will help businesses avoid making costly mistakes, delays, and printing quality that doesn’t meet their expectations. This guide provides information on how pouch printing is accomplished and will help businesses achieve consistent and retail-ready packaging.
Step 1: Identify Your Packaging Needs
Your first consideration for creating a packaging solution should be to determine what the pouch must accomplish, prior to considering how it will be printed.
You must know:
- Type of Product and Weight
- Barrier Properties (moisture, oxygen, light) Requirement
- Storage Condition
- Will the Products be Sold in Retail Stores or Online
- What will be the Expected Shelf Life of the Product
All of these criteria will determine what materials to use, what thickness is required, how many layers are needed for the film, and what finish you will require; each of which can affect the ability to print on your packaging.
Step 2: Select Your Film Structure
All polyester pouches use layers that are laminated together to give the finished product additional durability and protection. The type of film being coated for printing is determined by the outer layer of the material.
Some examples of materials used as the outer coating:
- PET – (has a high level of clarity and strength – very strong and durable)
- BOPP – (has the ability to have a very smooth surface and a superior print finish.)
- Metallic Films – (give pouches a high level of translucence/reflective finish).
Choosing the right structure for your pouches will assist you with: getting proper adhesion of ink to the surface of the pouch; durability of the pouch; and a good quality.
Step 3: Create Your Print Layout Based on the Pouch Structure
Pouch artwork must be designed to consider the folds, gussets and seals of the pouch; while this doesn’t occur with flat paper printing.When developing your design, remember to include the design elements that will appear on the package’s front and back, the bottom gusset, and sides of the package (sides of the bag).
Planning for how the zipper is placed on the bag, must also be taken into consideration. If any of these design elements are placed improperly, there is a risk that part of your logo and/or text will be squeezed or will not be visible on the outside of the bag after the bag is filled with product.
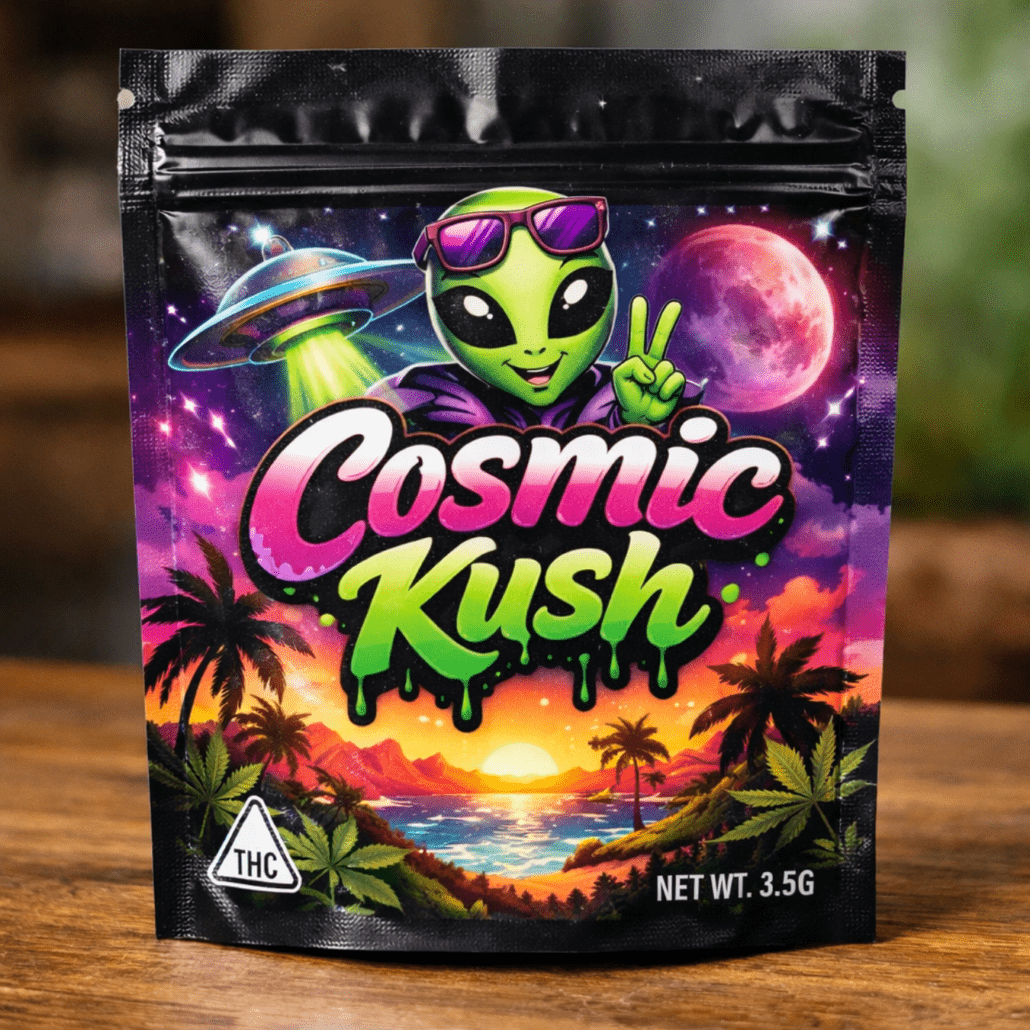
Packaging often determines first impressions, which is why many brands invest in fully customized mylar bag pouch designs to strengthen recognition.
Step 4: Convert Your Artwork to a Production File
Standardized files are needed by the professional printer so they can produce a final printed piece according to your specification.
A production file means your design must be in the following formats:
-CMYK colour mode
-Vector format for your logos
-300dpi resolution for images
-Additional bleed areas
-Safe zones
By using the production die line, you will ensure that everything fits together correctly when produced.
Step 5: Choose Printing Technology
There are many ways to print with different results.
Digital is the best choice for a quick turn-around and low minimum amount of product, while Gravure provides the best quality for larger amounts of product. Flexography is effective for a simple/artistic design and a moderate amount of printed products. The best way to decide on which printing method to use will depend on the relationship of cost, quality, and speed for your printed product.
Step 6: Coatings & Finishes
Once your artwork is completed, coatings and finishes can be applied to protect and enhance the finished item.
Coating options include:
-Matte finish for a sophisticated elegant look.
-Gloss finish for a bright, bold, vibrant finished product.
-Spot UV coating for specific areas of a printed piece to provide a gloss look.
-Durable protective coatings to protect your printed piece from the elements.
Adding these processes will enhance the value of your products.
Step 7: Laminate & Bag Convert
After the printing has been completed, various layers of films will be laminated together and then formed into pouches depending on the shape created by the heat seal process that created the bag.
This process will determine how the pouch will stand, open, and be different shapes.
Step 8: Check Proofs and Samples
You need to inspect the proofs before moving into production.
The most critical checks to look at include:
-colour accuracy
-alignment
-text legibility
-placement related to the heat seals
Checking an actual pouch sample is the easiest way to determine what your finished product will be like.
Step 9: Scale Production & Consistency
If you are producing many types of products for a brand, they all should be printed at the same quality level, with the same colours across all variations of that product. This will allow for consistency on the shelf and create awareness of the brand.
In Conclusion:
To print on Mylar bags step by step, first define the pouch size and material, then create CMYK artwork with bleed margins and safe zones. Next, select a printing technology based on order quantity and design complexity, and review proofs for color accuracy and placement. The printed film is laminated and converted into finished bags with heat seals and closures. Proper production steps result in professional packaging that protects the product and enhances brand visibility.
Mylar bag printing is a systematic production process that combines design, engineering, and quality assurance. By following each of the above steps, you will create products that will not only keep products protected; but also create a better impression on your brand and build trust with customers.
When a bag is printed with quality inks, Mylar bags function as a protective packaging container as well as marketing materials, therefore impacting the customers’ purchase decisions before seeing what is inside of the bag.

Leave a Reply
Want to join the discussion?Feel free to contribute!