How Often Should You Schedule a Dryer Vent Cover Replacement in Aliso Viejo?
If you’ve ever wondered about that little flap or grill on the outside of your house where your dryer vents, you’re not alone. The vent cover might seem like a minor detail, but it plays a big role in how safely and efficiently your clothes dryer runs. Let’s chat about when and why you should think about scheduling a Dryer Vent Cover Replacement, and how to spot the signs that it’s time for a change.
“A small, ignored dryer vent cover can be the hidden culprit behind high energy bills, stuffy laundry rooms, and even dangerous house fires. Taking care of it is like giving your home a quick breath of fresh air.”
Why Does the Dryer Vent Cover Matter?
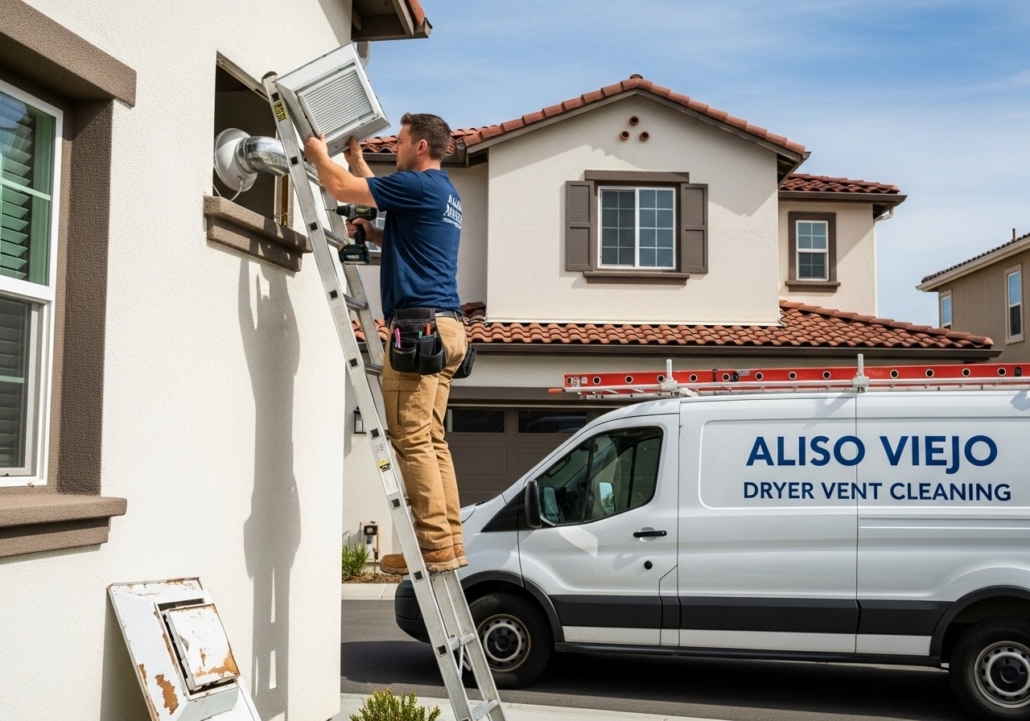
When you toss a load of towels into the dryer, you probably don’t think about where all that warm, damp air goes. But it’s headed out of your house through a duct, and at the end of that duct is your dryer vent cover. This cover keeps critters, rain, and debris from sneaking inside, and also stops cold air from rushing back in during the winter. If your cover is cracked, stuck, or missing altogether, it can cause all sorts of headaches—from lint piling up and cutting down your dryer’s efficiency to letting animals set up camp in your vent.
How Often Should You Replace the Dryer Vent Cover?
There’s no magic number for everyone, but most vent covers need attention every three to five years. That said, the climate where you live, how often you use your dryer, and the type of cover you have all play a role. If you’re in a place with harsh winters or blazing hot summers, the cover might wear out faster. Frequent laundry days can mean more lint and moisture, which can also age the cover more quickly.
Rather than waiting for problems, it’s smart to inspect your vent cover at least once a year. Look for cracks, rust, missing screws, or flaps that don’t swing freely. If you see anything odd, don’t wait—replacing it sooner rather than later can save you bigger hassles down the road.
| Condition | Sign to Replace | Recommended Action |
|---|---|---|
| Cracked or Broken Cover | Visible splits, missing pieces | Replace immediately |
| Stuck or Jammed Flap | Doesn’t open/close easily | Replace or lubricate |
| Rust or Corrosion | Orange spots or flaking metal | Replace |
| Animal Intrusion | Nests or animal droppings inside | Replace and clean vent |
| Frequent Lint Clogs | Lint buildup on or around cover | Inspect, clean, and consider replacing |
| Age Over 5 Years | No visible issues, but old | Consider proactive replacement |
What Are the Perks of Replacing Your Dryer Vent Cover?
Swapping out your old vent cover isn’t just about looks—it’s about protecting your home and making life easier. A new cover can keep out bugs, birds, and rodents that love to sneak into warm, cozy vents. It can also help your dryer work less hard, which means clothes get dry faster and your energy bills don’t skyrocket. Plus, keeping lint from escaping outside cuts down on fire risks.
Some of the newer vent covers even have better seals and materials that hold up longer against the weather. If you like the idea of set-it-and-forget-it, these upgrades are worth a look!
How Do You Know When It’s Time?
Sometimes the signs are obvious. If you spot birds hanging around the vent, or if you notice a draft in your laundry room, that’s a red flag. Other times, it’s more subtle—you might see your dryer taking longer than usual, or you hear a rattling noise outside when the dryer’s running. Trust your gut; if something seems off, it’s probably worth a closer look.
If you’re not sure, grab a flashlight and check the vent cover when the dryer is off and again when it’s running. The flap should open and close smoothly, and there shouldn’t be any gaps or holes. If it looks worse for wear, replacing it is a quick weekend project and an important part of regular dryer vent maintenance that can spare you bigger headaches.
Simple Steps to Swap Out Your Dryer Vent Cover
Changing your dryer vent cover isn’t rocket science, but it helps to know what you’re getting into. Here’s a quick run-down:
- Unplug your dryer for safety (just in case!)
- Head outside and gently remove the old cover, unscrewing it from the wall
- Clean up any lint or debris from the opening
- Fit the new cover in place, making sure it lines up with the duct
- Secure with screws and test the flap to make sure it moves easily
That’s it! You’ll feel better knowing your home is protected, and your dryer will thank you too.
Key Features: Modern dryer vent covers are made from sturdy plastics or rust-resistant metals, designed to withstand rain, snow, and sun. Look for covers with tight-fitting flaps or built-in pest guards for extra peace of mind.
Safety: A fresh, properly installed vent cover dramatically lowers the risk of fire caused by lint buildup. It also stops unwelcome critters from making a home in your vent, so you won’t have to worry about odors or blockages that could affect your whole house.
Cost: The average price for a replacement dryer vent cover is pretty affordable—usually between $10 and $30 at most hardware stores. If you hire a pro, add a bit for labor, but it’s still a minor investment for the protection it provides.
Emergency Service: If you spot major damage, notice a strong burning smell, or see lint blowing onto your siding, don’t wait. Many HVAC and vent cleaning companies offer quick-turn emergency service to swap out the cover and clear the duct right away.
Wrapping It Up
At the end of the day, taking a few minutes each year to check your dryer vent cover—and replacing it when it’s looking rough—can save you money, hassle, and even keep your home safer. It’s a tiny job with a big impact. So the next time you’re outside, give your vent cover a quick glance. Your dryer—and your peace of mind—will thank you!
Read More: Aliso Viejo Dryer Vent Cleaning

")

Leave a Reply
Want to join the discussion?Feel free to contribute!